Documentation is a very important issue – nevertheless it’s not a favorite one. With the Microsoft Active Directory Topology Diagrammer (ADTD), Microsoft offers a very helpful tool: it supports you with the creation of drawings for your documentation.
It is a tool that visualizes the AD infrastructure with the help of Visio.
Index
Requirements
To create Active Directory structural diagrams quickly and easily, you need the Active Directory Topology Diagrammer (ADTD) and Microsoft Visio.
You can download Active Directory Topology Diagrammer here:
Download ADTD
It runs on all clients from WinXP and Windows Server operating systems from Server 2000:
|
Client OS |
Windows Server OS |
|
Windows XP |
Windows Server 2000 |
|
Windows Vista |
Windows Server 2003 |
|
Windows 7 |
Windows Server 2008 / 2008 R2 |
|
Windows 8 / 8.1 |
Windows Server 2012 / 2012 R2 |
To install ADTD, you need at least Microsoft .NET Framework Version 2.0.
For the creation of the actual drawings, Microsoft Office Visio 2003 or a newer version has to be installed.
And finally AD permissions – the user starting the software needs at least reading permissions.
Installation of ADTD
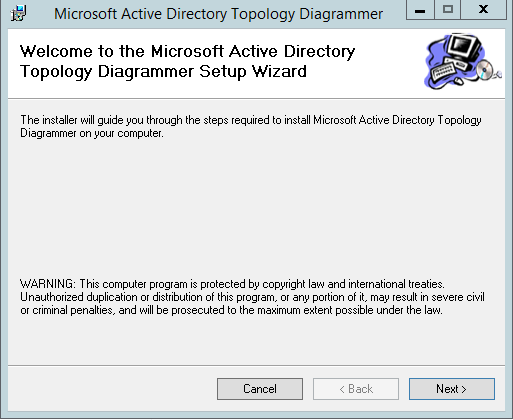
Download the installer (Download ADTD) and start the installation process.
The tool should be installed on a client which is a member of your domain.
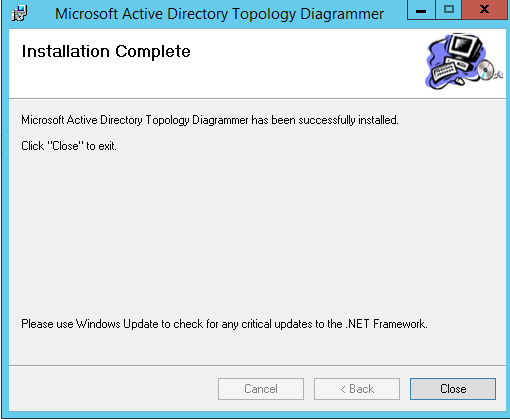
After the installation is completed, start ADTD and you are ready to visualize your Active Directory.
Creating Active Directory Structure as Diagram
(Note: In this article I used ADTD on a Windows Server 2012 R2 and Visio 2013)
Start ADTD by double-clicking the icon
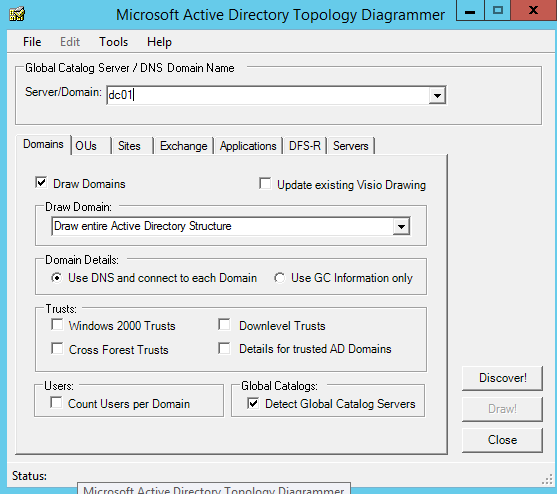
Afterwards you can see the ADTD user interface
Here you can check the following boxes:
- Domains (this helps you with creating a domain overview)
- OUs (drawings of the OU structure with or without GPOs)
- Sites (drawings of the sites)
- Exchange (drawing of the Exchange infrastructure)
- Applications (drawing of AD-integrated applications)
- DFS-R (drawing of the DFS replication)
- Servers (designates whether you want physical servers shown or not)
After having checked all boxes according to your specifications, click “Discover!”.
The duration of the process differs depending on the size of the environment. As soon as it is finished, the button “Draw!” will not be greyed out anymore. Click “Draw!” and Visio will start the drawing.
Problems with Visio 2013
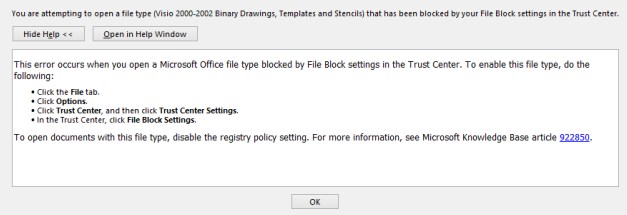
At the beginning of the drawing, Visio frequently comes up with the following error:
„You are attempting to open a file type (Visio 2000-2002 Binary…) that has been blocked by your File Block settings in the Trust Center.”
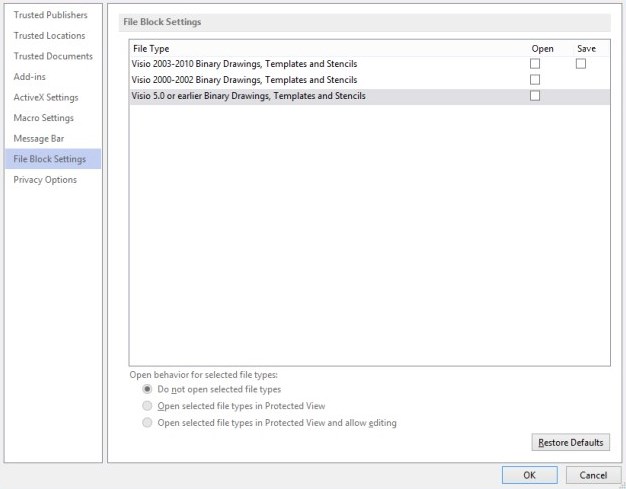
To fix this error go to:
File > Options > Trust Center > File Block Settings
You need to remove all checks from the boxes here. After you did that, restart Visio and ADTD and start the drawing process again.
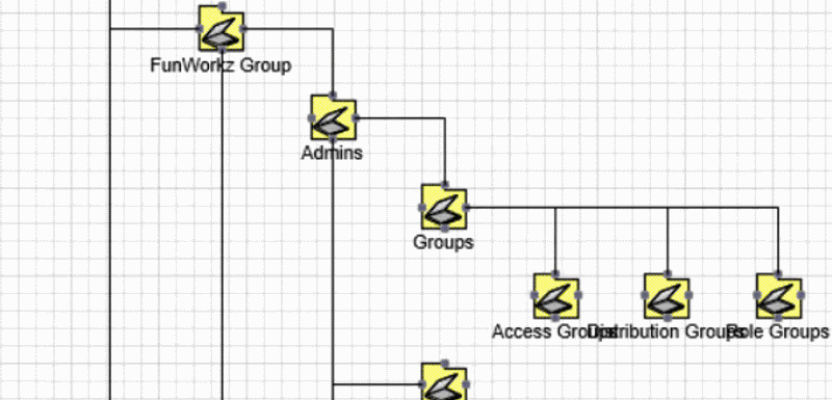
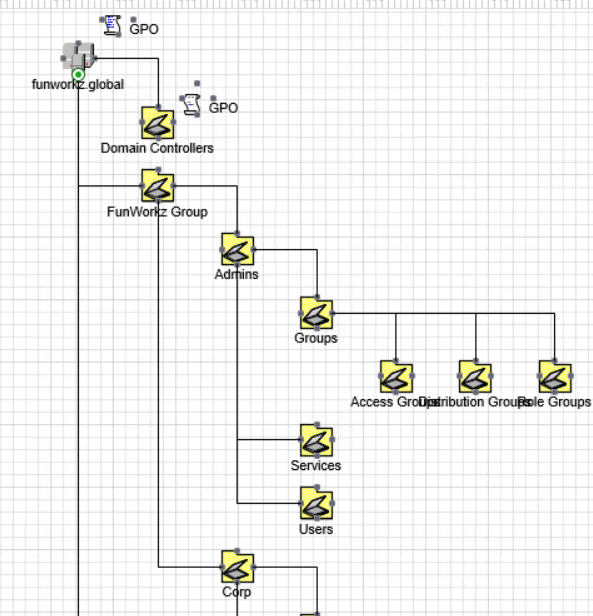
ADTD example
Below is an example of an OU drawing. It is to show how an Active Directory Structure Diagram can develop via ADTD.
Please contact us for further information about our services.




8 Comments
Leave your reply.